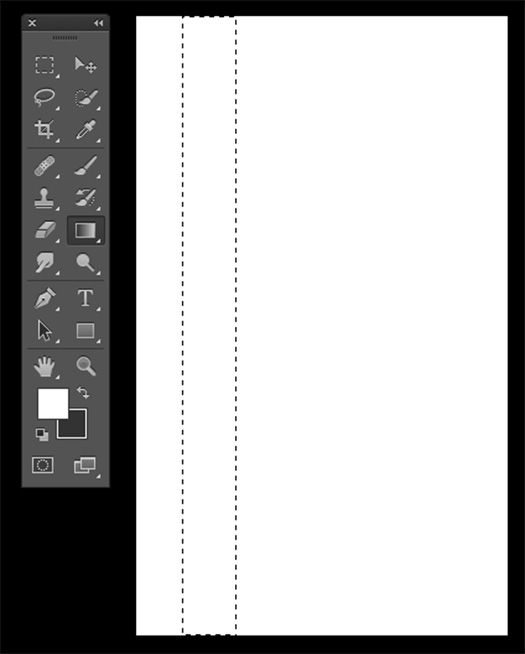
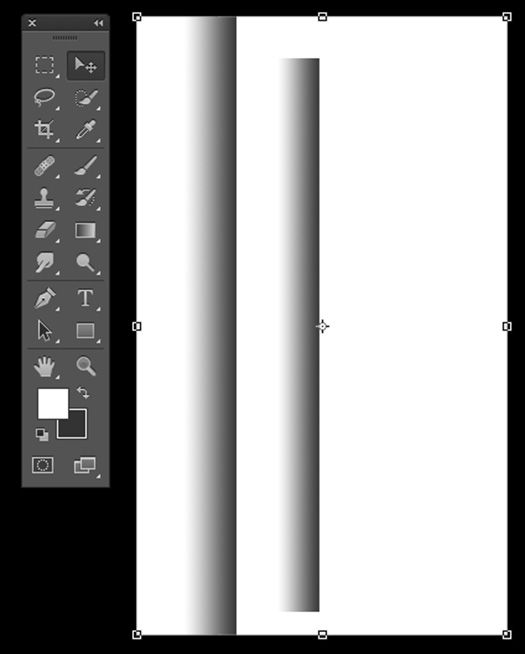
The idea is suggest contour with shading by using select tool (rectangular) and gradient tool.
Select-rectangle tool is shared with a few other select-shapes, and gradient tool is shared with fill tool (bucket)
The gif shows incidentally the gradient tool being selected by going off eraser tool, and red color changing to make arrows.
Gradients do not translate well to gif form because transitions need more shades than gif's 256 color limit allows. Color transitions from one to another tend to band noticeably even shades of the same color, and oddly that unfortunate rainbow-like banding can be minimized and even corrected completely by adding noise to it, that is, when saving the document by
adding dither at that point rather than by eliminating dither.
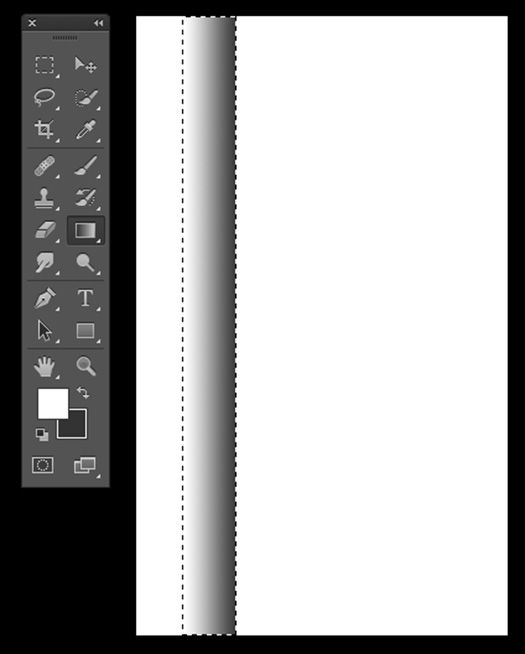
By this 'select + gradient' technique you can make a simple but decent flagpole with shades of gray. Yeah, I just said that.
Color is changed by tapping the upper of two color boxes at the bottom of the tool menu bar. The boxes represent foreground and background color. Switch them by tapping the arrow between them. By tapping the upper box a color palette menu appears you can also enter the color by number. For gradients, the two color boxes represent the "from" color and "to" color of the gradient.
The rectangular select tool works by starting at a point and dragging to another point diagonal to the fist to produce a rectangular selection area. The selection itself, the dotted outline, can be worked on separately as with stroking to turn the selection line into a drawn line. It can be its own separate layer. I
could outline the pole as a cartoon.The select tool means the area within the selected rectangle can be affected but nothing outside of it will be. Usually. But not always, as with filters. And Photoshop allows the selection to be switched to outside the area instead of inside the selected area. For now all we need is for gradient tool to work within the selected area and even if it didn't we could gradient a whole layer and eliminate everything except our little piece of it.
Know what to do when selection does not work to isolate a specific area as with filters? Make two layers, apply filter to one entire layer and use selection to isolate the area to cut and apply directly on top of the unfiltered layer and blend them.
Our pole gradient is unusual because it is not applied to large area like a background horizon where you imagine this tool is most useful. Rather this time the gradient is unusually tall and skinny. The pole is formed in a separate layer, not directly onto the white. Otherwise you'd be dealing with the background white all the time, dragging that around all over the place, filling in the place it vacates when moved. Best to keep background layer(s) separate from everything else until you are done. That way you can do whatever you want with the pole shape. So this selection shown below is made in a second layer, not directly onto the background. This is singularly the most important thing about Photoshop and the approach that is taken for manipulating images.

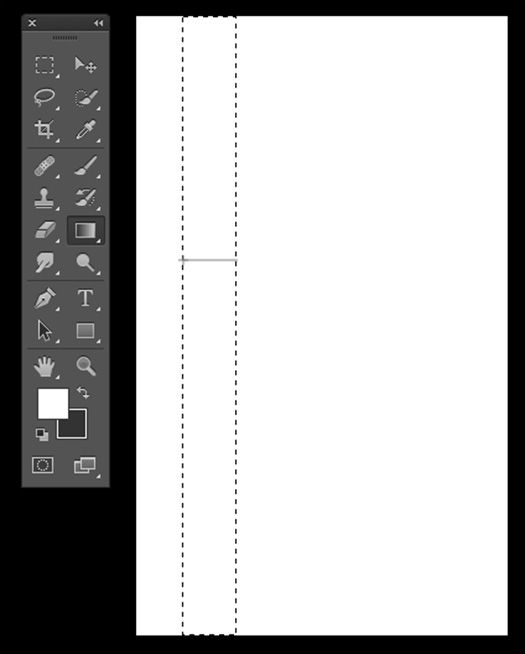
Choose the gradient tool and use it within the selected area. The starting point will determine the top color for the gradient, the tool causes a line to form automatically when pulled to the second point representing the second color choice, here a dark gray. Once the pressure is lifted off the mouse then the gradient forms. (The computer releases the Kraken for the gradient algorithms to spin out, and it is fun to see.)
With white background, if your gradient starts with white to light gray then the pole seems to disappear into the background the same way reflected light makes the edges of things disappear.
Photoshop will splay the gradient in the direction the line is pulled. With the two points being so close it is not so easy getting the gradient to spread across vertically. "Command H" produces a grid overlay to help tug a line perfectly horizontally and you can keep undoing (Command Z) and redoing the gradient until it is right, make the computer do all the work, that's doubly, triply, quadruply fun.
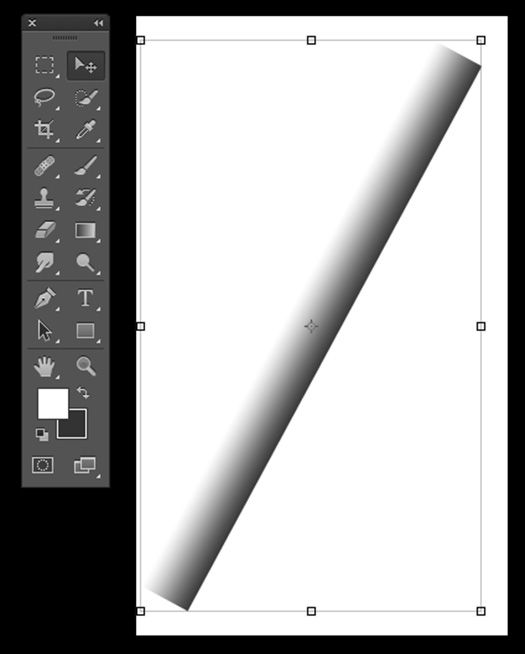
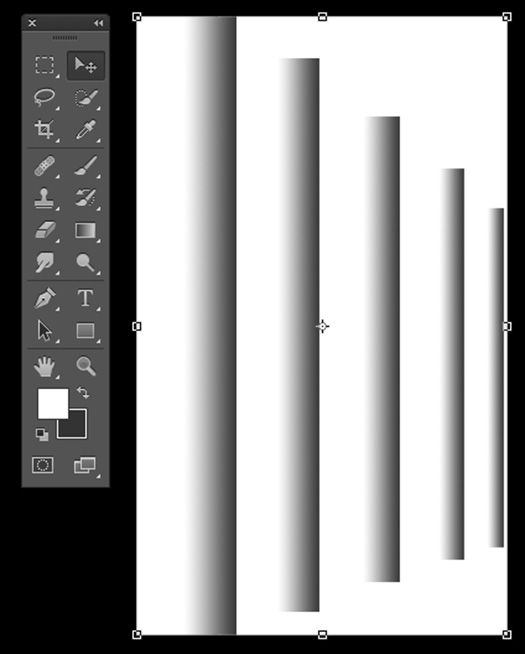
So this is a flag pole. It occupies a transparent layer. It can as easily be a fence post and duplicated in additional layers for additional fence posts and each layer made slightly smaller by tugging on a corner then duplicated and the new layer duplicated and tugged, smaller and smaller so the fence poles appear to get smaller layer upon layer into the distance.
The same technique can be use to make clamps to hold woven wire fencing onto the pole. Duplicated in layers the same way and pushed into position directly on top of the pole-layers with woven wire fence-layer in between. Once made, the poles can be rotated to any direction, the light reflecting off top, they can be distorted with perspective and warped.